
Tomato Greenhouse Humidity Control: Why It Matters & How to Get It Right
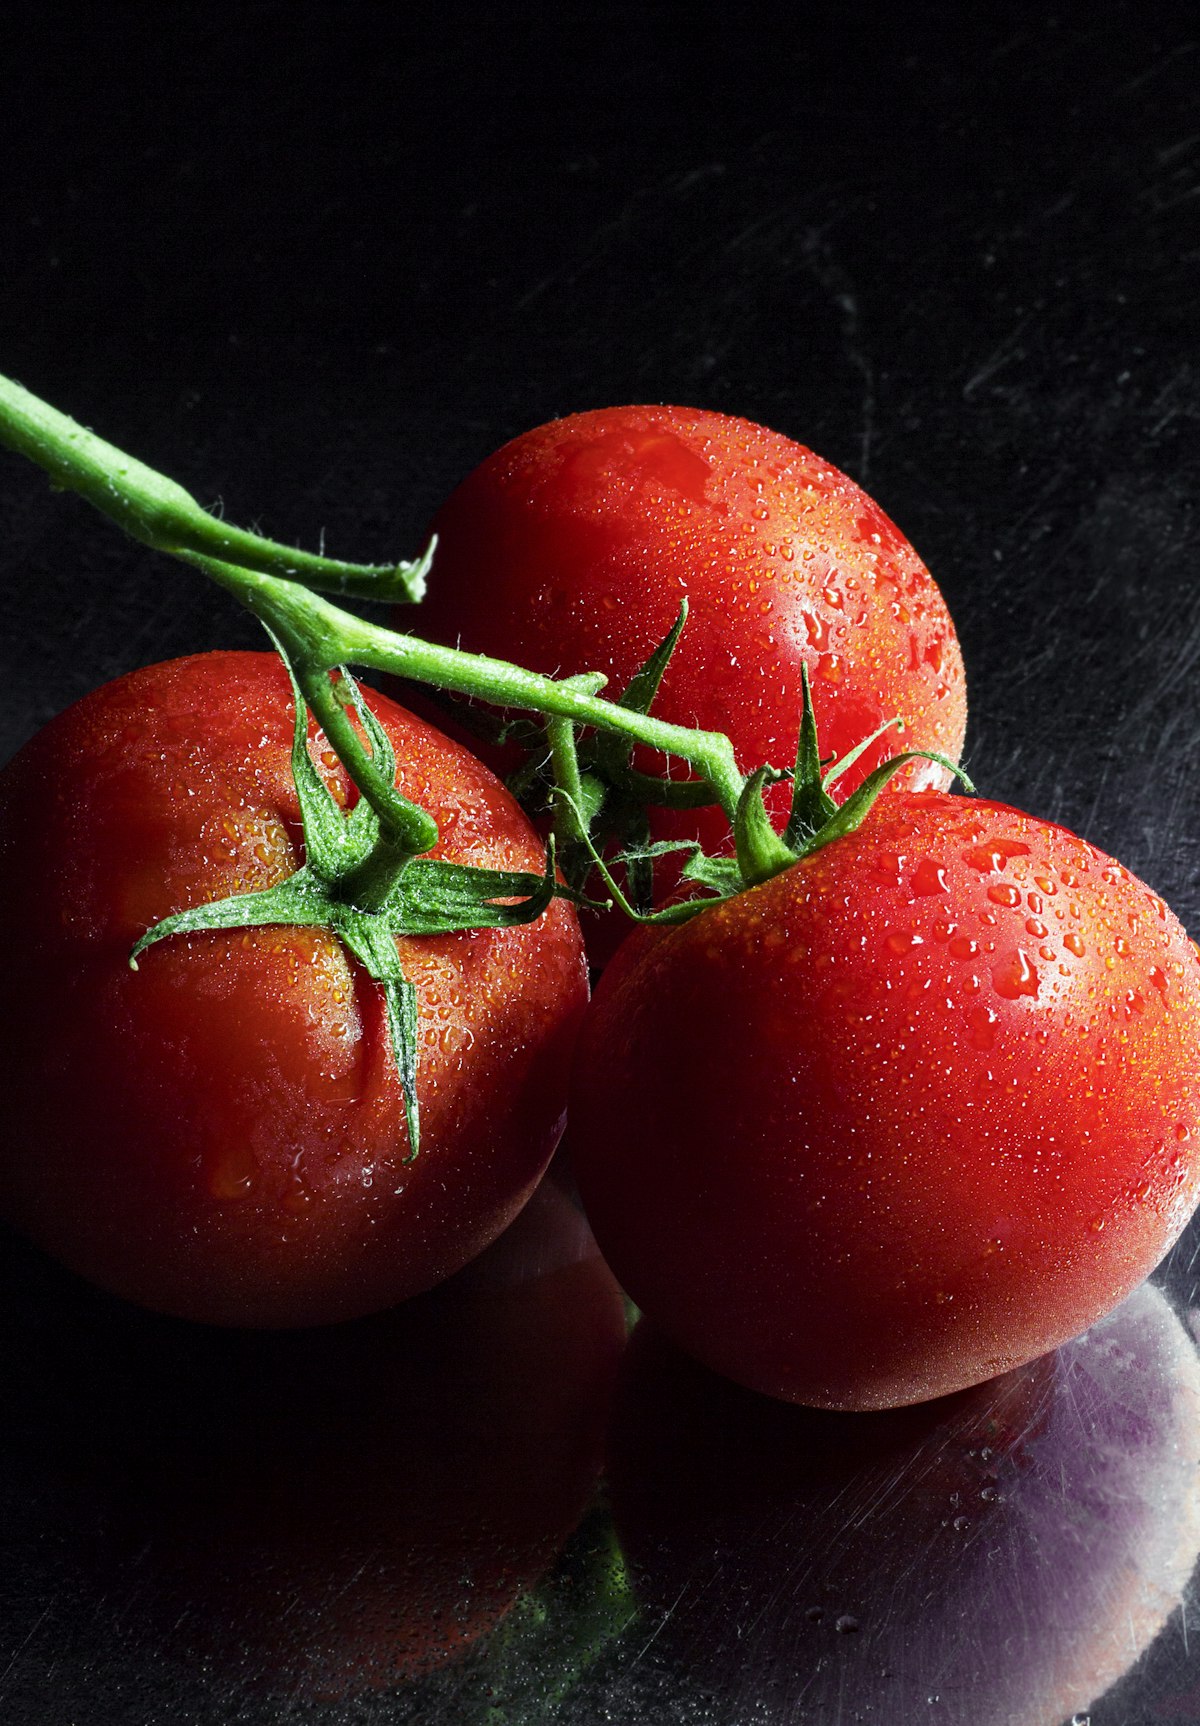
Tomatoes are one of the most widely grown greenhouse crops in the world — and also one of the most sensitive to humidity. Get it right, and you will see vigorous growth, heavy fruit set, and premium quality. Get it wrong, and you face blossom drop, disease outbreaks, and crop losses that can wipe out an entire season. This guide explains exactly why humidity control matters for tomato greenhouses, what levels to target at each growth stage, and how to implement a reliable humidity management system.
Why Humidity Is Critical for Tomato Greenhouses
Tomatoes are originally subtropical plants. They thrive in warm, moderately humid conditions — but commercial greenhouse production creates a completely different microclimate. In a sealed or semi-sealed greenhouse, plant transpiration, irrigation evaporation, and limited air exchange push humidity levels far beyond what tomatoes can tolerate without stress.
Humidity affects tomatoes through three interconnected mechanisms:
- Pollination and fruit set. Tomato flowers are self-pollinating, but they require dry air to release pollen effectively. When relative humidity exceeds 70% during flowering, pollen grains clump together and fail to disperse. The result is poor fruit set, misshapen fruit, and reduced yield. Many greenhouse growers do not realize that their low yield is caused by high humidity during the flowering window — not by nutrient deficiency or variety selection.
- Calcium uptake and blossom end rot. Calcium is transported through the plant via transpiration. When humidity is too high, transpiration slows, and calcium cannot reach the developing fruit. This causes blossom end rot — a black, sunken lesion on the bottom of the tomato that makes it unmarketable. It is a physiological disorder, not a disease, and it is entirely preventable with proper humidity management.
- Disease pressure. Tomato pathogens thrive in high humidity. Botrytis cinerea (gray mold), Passalora fulva (leaf mold), and Phytophthora infestans (late blight) all require sustained leaf wetness or RH above 85% to infect. A greenhouse running at 80–90% RH without dehumidification is a disease incubator.

Optimal Humidity Levels for Tomatoes by Growth Stage
Tomatoes need different humidity levels at different stages of growth. The key principle is that humidity should gradually decrease as the plant matures, with the most critical period being flowering and early fruit development.
| Growth Stage | Optimal RH (Day) | Optimal RH (Night) | Key Risk |
|---|---|---|---|
| Seedling | 65–75% | 70–80% | Damping-off, slow rooting |
| Vegetative | 60–70% | 65–75% | Stretching, weak stems |
| Flowering | 55–65% | 60–70% | Poor pollen release, blossom drop |
| Early Fruit Set | 60–70% | 65–70% | Blossom end rot (calcium deficiency) |
| Ripening | 55–65% | 60–70% | Cracking, botrytis, late blight |
Notice the critical window during flowering: daytime RH should be kept between 55–65%. This is lower than most growers expect, and it is the single most impactful adjustment you can make to improve fruit set. If your greenhouse humidity consistently exceeds 70% during the day, pollination is already being compromised.
The nighttime humidity range is slightly higher because cooler nighttime temperatures naturally raise RH. However, night is when condensation risk peaks — if humid air meets cooler leaf surfaces, dew forms on the leaves, creating the perfect conditions for fungal infection. A dehumidifier that runs through the night cycle is essential to prevent this dew formation.
Common Tomato Diseases Caused by Poor Humidity Control
Three devastating diseases are directly linked to humidity mismanagement in tomato greenhouses. Understanding each one helps you see why humidity control is not optional — it is the first line of defense.
Botrytis Gray Mold
Botrytis cinerea is the most common and destructive pathogen in greenhouse tomatoes. It attacks every part of the plant — stems, leaves, flowers, and fruit. Gray mold thrives when RH exceeds 85% for more than 4–6 hours, especially at temperatures of 18–24°C. On fruit, it appears as a soft, water-soaked rot covered in gray fuzzy spores. On stems, it causes cankers that can girdle and kill the entire plant. The pathogen spreads rapidly through splashing water and air currents, so a single infected plant can quickly contaminate an entire greenhouse. Maintaining RH below 75% with active dehumidification is the most effective prevention strategy.
Leaf Mold (Passalora fulva)
Leaf mold is specific to tomatoes and thrives in greenhouses with RH above 85% and poor air circulation. It first appears as pale yellow spots on the upper leaf surface, with olive-green velvety spore masses on the underside. As the disease progresses, leaves yellow, curl, and drop prematurely. Severe defoliation exposes fruit to sunscald and reduces photosynthetic capacity, stunting the plant and reducing yield. Leaf mold is particularly insidious because the spores can survive in crop debris for months, reinfecting successive crops unless the greenhouse is thoroughly sanitized between cycles.
Late Blight (Phytophthora infestans)
Late blight is the disease that caused the Irish potato famine, and it is equally devastating to tomatoes. It spreads explosively when humidity is high (above 90%) and temperatures are cool (13–18°C). Dark, water-soaked lesions appear on leaves and stems, often with a white mold ring at the edge. On fruit, firm, dark brown spots develop and rapidly engulf the entire tomato. Late blight can destroy a greenhouse tomato crop in 3–5 days if conditions are favorable. While it requires fungicide treatment once present, the primary prevention is humidity control — keeping RH below 80% and preventing leaf wetness eliminates the conditions the pathogen needs to establish.
Humidity Control Solutions for Tomato Greenhouses
There are four main approaches to managing humidity in a tomato greenhouse. Each plays a role, but only dehumidification provides reliable, climate-independent control.
| Method | How It Works | Best For | Limitation |
|---|---|---|---|
| Ventilation | Exchanges humid indoor air with drier outdoor air | Daytime in dry climates | Ineffective when outdoor RH is high; loses heat and CO₂ |
| Air Circulation | Horizontal airflow fans mix air to prevent microclimates | Supplementing other methods | Reduces condensation but does not remove moisture |
| Heating | Raising temperature lowers relative humidity | Night-time humidity spikes | Expensive; does not remove water, just dilutes it |
| Dehumidification | Actively condenses and removes moisture from air | All conditions — the only reliable method | Requires equipment investment and electricity |
For commercial tomato greenhouses, dehumidification is the backbone of humidity control. Ventilation and heating can supplement, but they cannot be relied upon as the primary method — especially during the critical night period when outdoor dew points are high, or in humid climates where outside air is as moist as the greenhouse air.
An added benefit of dehumidification in cold-climate greenhouses: the dehumidifier recovers latent heat from the moisture it condenses. In a sealed winter greenhouse, this recovered heat can offset 20–40% of heating costs — a significant energy advantage over ventilation-based humidity control that exhausts heated air.
How to Choose the Right Dehumidifier for Your Tomato Greenhouse
Sizing a dehumidifier for a tomato greenhouse follows a straightforward calculation. You need to match the unit's moisture removal capacity to your greenhouse's total moisture load.
Step 1: Calculate Moisture Load
Total Moisture Load (L/day) = Plant Transpiration + Irrigation Evaporation + Soil/Floor Evaporation
Transpiration: ~2.5–4 L/day per kW of grow lighting (varies by crop density)
Irrigation evaporation: ~10–15% of daily irrigation volume
Soil/floor: ~0.5–1 L/day per m² for soil-grown; negligible for hydroponic
For a 500 m² tomato greenhouse with 20 kW of supplemental lighting and 500 L/day irrigation:
- Transpiration: 20 kW × 3 L/day = 60 L/day
- Irrigation evaporation: 500 L × 12% = 60 L/day
- Soil evaporation: 500 m² × 0.7 L/day = 350 L/day
- Total: ~470 L/day
Step 2: Apply Safety Factor
Oversize by 20–30% to handle peak moisture events (post-irrigation, summer humidity spikes). For 470 L/day: 470 × 1.25 = 588 L/day rated capacity minimum.
Step 3: Select Equipment
GrowClimate offers commercial dehumidifiers designed for greenhouse environments, with RS485/Modbus connectivity for integration with climate control systems:
- GRO-385L — 385 L/day, suitable for 200–400 m² greenhouses (pair two units for 500 m²)
- GRO-720L — 720 L/day, handles 500–800 m² in a single unit
- GD-480L — Ceiling-mounted, ideal when floor space is at a premium
For greenhouses in cold climates where winter temperatures drop below 10°C, consider GrowClimate's desiccant dehumidifier series, which maintain full performance at temperatures as low as -10°C.
Step 4: Placement Strategy
- Position dehumidifiers to draw air from the most humid zones — typically near the plant canopy and at the low points of the greenhouse where cold, moist air settles
- Direct dry air output along the length of the greenhouse to ensure even distribution — avoid short-circuiting where dry air returns directly to the intake
- For greenhouses over 300 m², use two or more units at opposite ends rather than one large unit — this improves humidity uniformity and provides redundancy if one unit fails
- Integrate with horizontal airflow fans (HAF) to maintain consistent air movement across the canopy, preventing dead zones where humidity can spike

Best Practices for Tomato Greenhouse Humidity Management
- Monitor continuously. Install humidity sensors at canopy height in at least 3 locations — center and both ends of the greenhouse. RH can vary by 10–15% between different zones.
- Control the night cycle. Nighttime is when humidity spikes and condensation forms on leaves. Program your dehumidifier to maintain RH below 75% through the night, not just during the day.
- Avoid wetting foliage. Use drip irrigation rather than overhead sprinklers. Wet leaves are the primary entry point for botrytis and late blight. If overhead irrigation is unavoidable, run it early enough in the day that leaves dry completely before nightfall.
- Prune for airflow. Remove lower leaves and suckers regularly to improve air circulation through the canopy. Dense foliage traps humid air and creates microclimates where disease can establish undetected.
- Transition gradually. When moving between growth stages, change humidity setpoints by no more than 5% per day. Abrupt changes stress the plant and can trigger physiological disorders.
- Sanitize between crops. After removing the old crop, run the dehumidifier at maximum capacity with the greenhouse sealed to dry out any residual moisture in the soil or structure before planting the next crop. This breaks the disease cycle.
Frequently Asked Questions
What humidity level is best for tomato greenhouses?
For mature tomato plants, target 60–70% RH during the day and 65–75% at night. During flowering, reduce daytime RH to 55–65% to ensure proper pollen release. The most critical rule: never let RH exceed 85% for more than 4 consecutive hours, as this is the threshold for botrytis and leaf mold infection.
Why are my tomato flowers dropping without setting fruit?
The most common cause is high humidity during flowering. Tomato pollen becomes sticky and clumps together when RH exceeds 70%, preventing it from falling onto the stigma. If you are seeing flower drop, check your daytime humidity during the flowering period — it should be between 55–65%. A dedicated greenhouse dehumidifier is the most effective solution.
Can I use ventilation instead of a dehumidifier for my tomato greenhouse?
Ventilation can help during the day in dry climates, but it is unreliable as a primary method. At night — when humidity control is most critical — outdoor air is often as humid as the greenhouse air. Ventilation also wastes heated air and CO₂, increasing operating costs. For commercial tomato production, a dehumidifier is the only method that provides reliable, year-round humidity control regardless of weather conditions. Learn more about greenhouse humidity control fundamentals.
How does humidity cause blossom end rot in tomatoes?
Blossom end rot is caused by calcium deficiency in the fruit, but the root cause is often high humidity. Calcium moves through the plant via the transpiration stream. When humidity is too high, transpiration slows, and calcium cannot reach the rapidly expanding fruit tissue. The result is cell membrane breakdown at the blossom end of the fruit, forming a dark, sunken lesion. Proper humidity management — keeping daytime RH at 60–70% during early fruit development — is the most effective prevention.
What size dehumidifier do I need for a tomato greenhouse?
Calculate your total daily moisture load (transpiration + irrigation evaporation + soil evaporation), then add a 20–30% safety margin. For a typical 500 m² tomato greenhouse, you will need approximately 500–600 L/day of dehumidification capacity. This can be achieved with one GrowClimate GRO-720L unit or two GRO-385L units placed at opposite ends of the greenhouse. Contact our engineering team for a free sizing calculation tailored to your facility.
Conclusion
Humidity control is not an optional upgrade for a tomato greenhouse — it is a fundamental requirement for profitable production. The difference between a greenhouse operating at 85% RH and one at 65% RH is the difference between a healthy, high-yielding crop and a disease-ridden, low-yielding one. By understanding the specific humidity needs of tomatoes at each growth stage, investing in properly sized dehumidification equipment, and following best practices for monitoring and airflow management, you can dramatically improve fruit set, reduce disease pressure, and increase both yield and quality.
If you are planning a new tomato greenhouse or upgrading your existing climate control system, contact GrowClimate's application engineering team for a free consultation. We provide moisture load calculations, equipment sizing, and climate control strategies tailored to your specific crop, climate, and facility.
Need Help with Climate Control?
Get a free consultation from our application engineering team for your specific growing environment.
Contact an Engineer